
~ Row House in Pittsburgh ~ FIRST FLOOR
I'm helping my son refurbish his new purchase. A row house built in 1900. One side is attached to the home next door and the other is not.

The positives about the purchase are:
1. it's made of brick
2. it has a backyard
3. it has a small 1 car garage
4. it's in the RIGHT location.
5. And it has a view of the city from the 2nd and 3rd floor.

5. And it has a view of the city from the 2nd and 3rd floor.

BEFORE

Google photo July 2017
Thank heavens they decided to painted it gray and white before they sold it. Curb appeal!

I would like to go one step further and bring the outside to what it should be.

* The lower front windows need to be raised to where they originally were.
* The 'eyebrows' have been removed and the windows look too small.
* The 'eyebrows' have been removed and the windows look too small.
* I'd also love to add some black railings leading up to the front door and widen the steps.

This color combo of light gray and white windows is also a nice light touch. Also note the door lantern.


ROW HOUSE REDESIGN IDEAS

I'm working on some ideas for the first floor rehab.
The kitchen is the heart of the home and it would be nice to get it to line up with the dining room. and living room. Right now it's located in the 14 x 14 area in the back. The pink is a outdoor slab that leads to the back yard.


If we moved the kitchen to the slab we need to do several things.
1. remove the brick exterior wall.
2. Add an exterior wall
3. Create a new door opening to the backyard
4. Do not drill into the slab and keep the electrical there - like the stove. Sink stays on the other side.
5. Add electrical to that area.


GREAT POSTS ~ Save them!

Garage door look - plenty of light - and includes a door.

ORIGINAL KITCHEN

This is now flipped to the other side. Maybe we can use some of the cabinets - paint them.

What if we back it up to a storage area behind it and recess it so it becomes flush with the counters.
I also like when a Fridge is surrounded by wood and not showing it's sides.


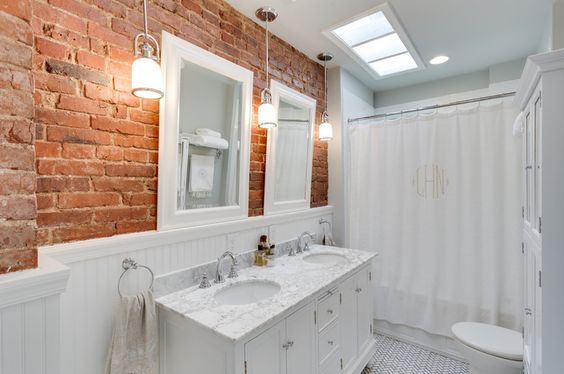
1. The powder room plumbing is right behind the kitchen plumbing.
2.There is a pantry behind the kitchen. Maybe we can use a barn door - covering the storage and moves over the hallway if they're the same width.
3.The powder room gets the window.
4. Pocket doors on the powder room save space.
5. You can see the fridge is recessed into the pantry area so that it can be flushed with the counters.

The long hallway can have coat hooks and bench for storage.

* A false wall would be placed behind the fridge.
* That only leaves about 60" from the fake wall to the other side.
*Leaving walking space available about 20".
*That's not wide enough for a proper hallway to the powder room.
* So, the laundry has to go somewhere else.


Even if you remove the wall ~ and create a more open concept ~ you still need a hallway for proper traffic flow to the back of the house.
Keeping the partial wall achieves that flow.

2. A dining table is 36 - 42" wide
3. A banquette is about 32" deep
4. Shown this way it's 3 ft of area in front of the fireplace.

1. Keep the wall behind the Banquette
2. The wall can hold 2 sconces above the banquette for ambiance. Since the grouping is not centered ~ you don't need a chandelier.
3. Use recessed lighting on dimmers
4. The cabinet in the hallway would have a mirror and lamp for light and reflection.

Mid Century Modern Banquette


BRICK WALL BEHIND BANQUETTE
I also like the beams.

* From this photo ~ I'm realizing the opening is opposite the fireplace.
* That's awkward ~ because that's where I want the banquette
*So, Houston we have a problem. The wall and opening need to move.

Did anyone notice ~ There's a WINDOW under the wall!
* REMOVE ALL RADIATORS
*INSTALL 1st and 2nd floor HVAC
* REMOVE WALL AC
* RESTORE WALL PLACEMENT


Doorway between Living Room & Dining Room
REMOVE THIS WALL
SAVE THE DOORS!


RAISE CEILING AND ENLARGE WINDOWS
* Again - these door openings need to be tweeked if we keep the walls.
* The openings can also be raised with the ceiling.


Keep the paint LIGHT - there are few windows!
* Note the chair rail to break the space.
* Also note ~ it's a tight space.

Beefed up trim work top and bottom
* wood running front to back

HALLWAY WITH WALLS
* wood running front to back
* white under treads of stairs

* Simple wood stairway - painted under treads
* Stairs are quiet if carpeted.
* Note the flow of this place - there is a hallway from front to back with no walls ~ and a large picture window in the back.
* Note the floors run from front to back.
* And love the large pine planks.


BLAH!
You can tell there was a second door on the inside which has been removed.

Add doors with windows.
Love the curtain for 1. Privacy and 2. Warmth

How about just one door with window.

I saved the best for last....

GREAT LOOK!

* wood running front to back
* MINIMAL, CLEAN, & SOPHISTICATED ~ love it!
Now the important question:
HOW MUCH?


Comments
Post a Comment